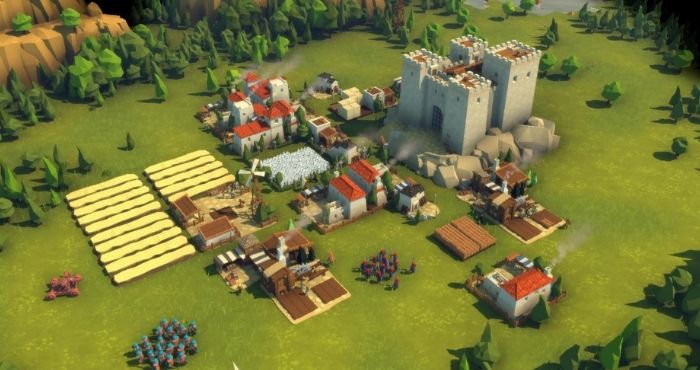
Hi guys, Here we will show you Diplomacy Is Not An Option Guide for New Players and In this Diplomacy Is Not An Option Guide for New Players we will talk about, How to Begin a New Game in Diplomacy is Not an Option, especially in the Endless game style on the most challenging difficulty level, Feat of Resistance.
You’ll discover how to kite enemy forces, how much production of each resource you’ll need, what buildings to update, what tech research can help you with, where to set up defensive walls and gates, and how to employ magical powers to inflict the maximum damage on enemy attack waves in this section. So come and take a look at this Diplomacy Is Not An Option Guide for New Players.
Diplomacy Is Not An Option Guide
Welcome to the Diplomacy is Not an Option How to Get Started guide. I’ll show you how to get off to a solid start, allowing you to swiftly accumulate a large number of resources and warriors.
Game difficulty differences On the lower difficulty the only differences are that you will have an actual catapult unit to help you destroy enemy camps faster and some more starting resources and workers. If you play on these difficulty levels all you have to change from this guide is to add more lumber mills at the start.
Build order
Day 1 Let us begin on Day 1. Each time, on the same difficulty level, you will start with the same setup, but on a different procedurally generated map. On Feat of Resistance, you start with 3 swordsmen, 3 archers, 6 free workers, 50 food, and 60 wood.
First, you want to construct two lumber mills at the closest forests and preferably on the same one because enemy rebels might already be hiding on the other side of the fog of war and you don’t want to have to clear two different forests at the same time.
As for food production, you don’t need much at the start. You can build either a fisherman’s hunt or a berry picker’s house depending on your preference and what resources you have close to your keep. The main difference between these is that the fisherman produces food 3 times slower but there are two workers and their fish are always at the same spot, while the berry picker is only one worker and once he exhausts the closest berry bush he has to travel to others in range wasting a lot of production time.
Resources & tech
Day 1 With these three buildings queued up for construction, or four, five if you are playing on the lower difficulty settings, and have added an additional lumber mill, you will need to scout the map for resource carts.
These can hold wood, stone, food and iron. Your aim is to find and collect as many of these as you can with your soldiers at the start to give your economy a leg up. In the meantime, open up the research tree and send the rest of your wood on Advanced Toolkits tech to speed up building and repair of structures.
And now you have to do two things. Send your soldiers out to find the closest deposits of stone which can be mined and clear that area of enemy rebels
while adding as many houses next to your castle as you currently have resources for. Ideally you want to start day 2 with 4 newly constructed houses as that will get you many new workers.
As for the search for stone you want to find mountains which have white deposits but which are not guarded by a mass of rebels.
If you find their camps with only a few soldiers there, attack them and destroy their camps to clear that area. If you run into a mass of them, go find a less defended stone deposit.
Each time you tear down a rebel camp you will find loot inside it. At the start these are soul crystals and you want to collect as many as you can as you will need these to use magic spells against enemy waves.
If you are lucky to find a cart of stone, use those resources to build a granary next to your food production buildings to speed up collection and have a high stockpile capacity for food. If you find more wood on the other hand, build additional houses next to your town’s keep.
Unit combat – Night 1
Now about combat. When you run into small enemy forces you can outright fight them as your swordsman will regenerate their health.
But if you run into a mass of rebels you need to learn to kite them. This involves placing your archers at a distance while getting close with your swordsman to taunt a small portion of that mass of rebels. Then you run in circles or left to right with your swordsmen and rebels on their tails while the archers shoot them up one by one.
By doing so you can clear large enemy formations and free areas of the map for future construction of resource collection buildings. This may take some time to master so don’t’ beat yourself up if you end up pulling more enemies than you can handle.
If you run for long enough they will stop chasing you. Just don’t run into the fog of war and straight into even more enemies. If you ever watched a zombie apocalypse TV show or movie you know what will happen.
This is a Diplomacy Is Not An Option Dat 1 Guide for New Player
ncG1vNJzZmismJqwra3SoaCfsV6YvK57w6KnpaedlrC6ecisZKenpGKur3nOqauip55itLa1w55m
